How to use Shifts in Teams
Getting set up
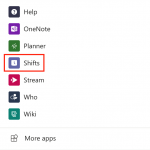
To get started, click on the ‘three dots’ in the Teams menu bar. You’ll see Shifts as one of the additional apps listed here.
You can only create a schedule if you’re recognised as an owner of the Office 365 Team you wish to create the schedule for.
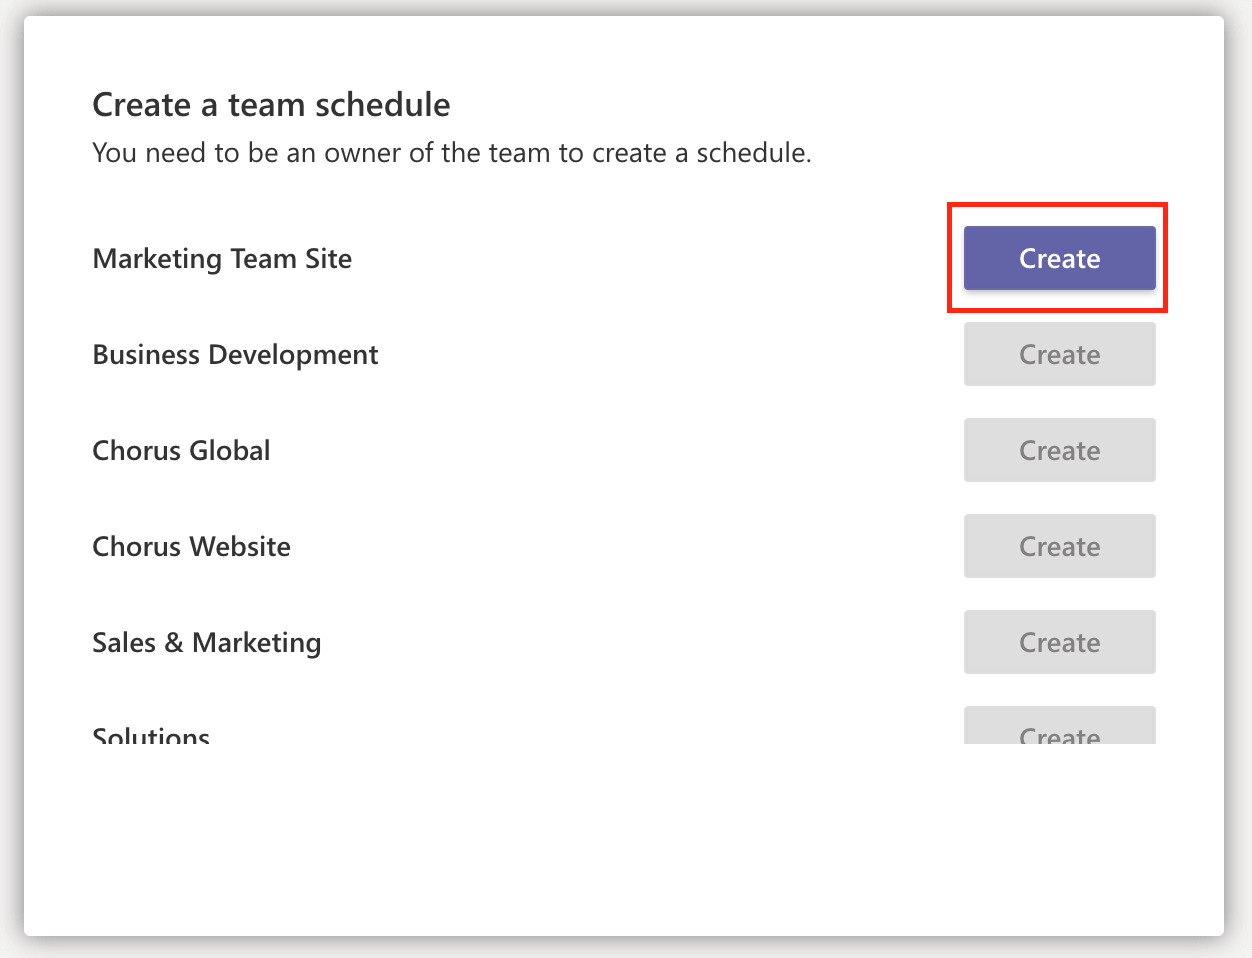
Select ‘create’ to continue.
If your team operates globally, it’s important to consider which time zone you wish to use for the shift schedule.
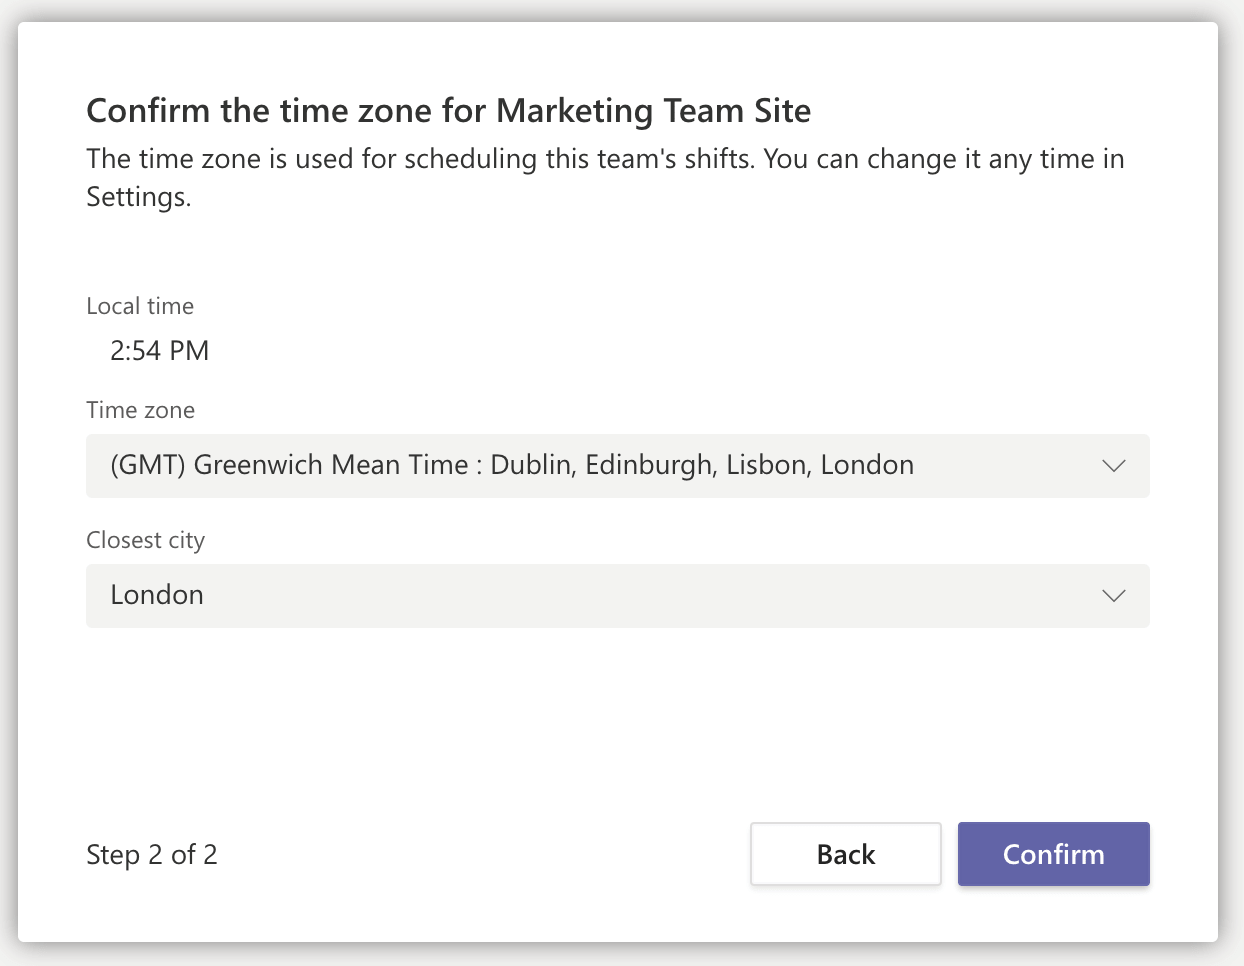
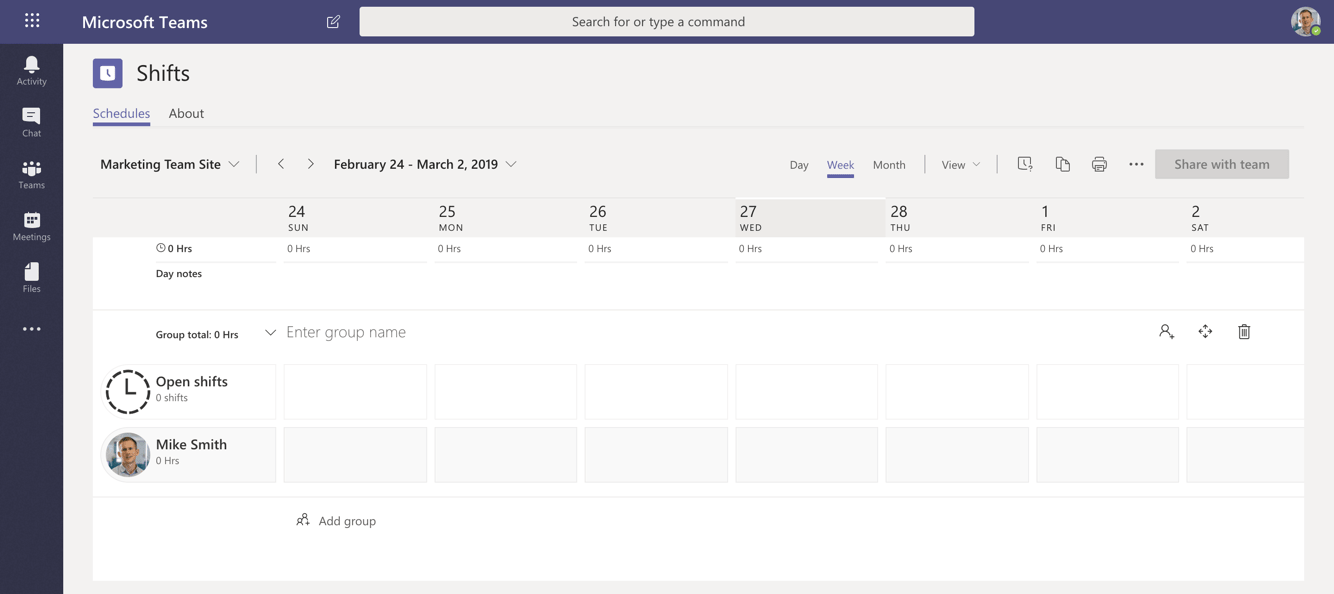
Once you click ‘confirm’, you’ll see the Shifts overview screen appear.
Creating shifts
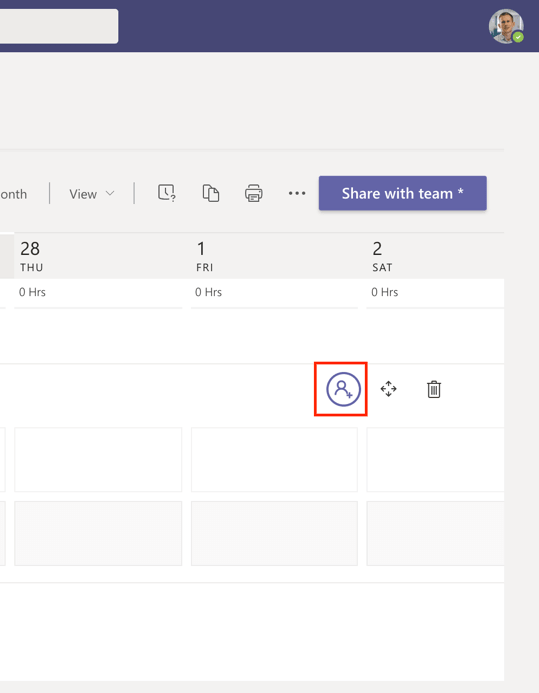
To add team members to the plan, click the ‘add people to the group’ button. You can add any colleagues to the Shift schedule as long as they have an Office 365 profile.
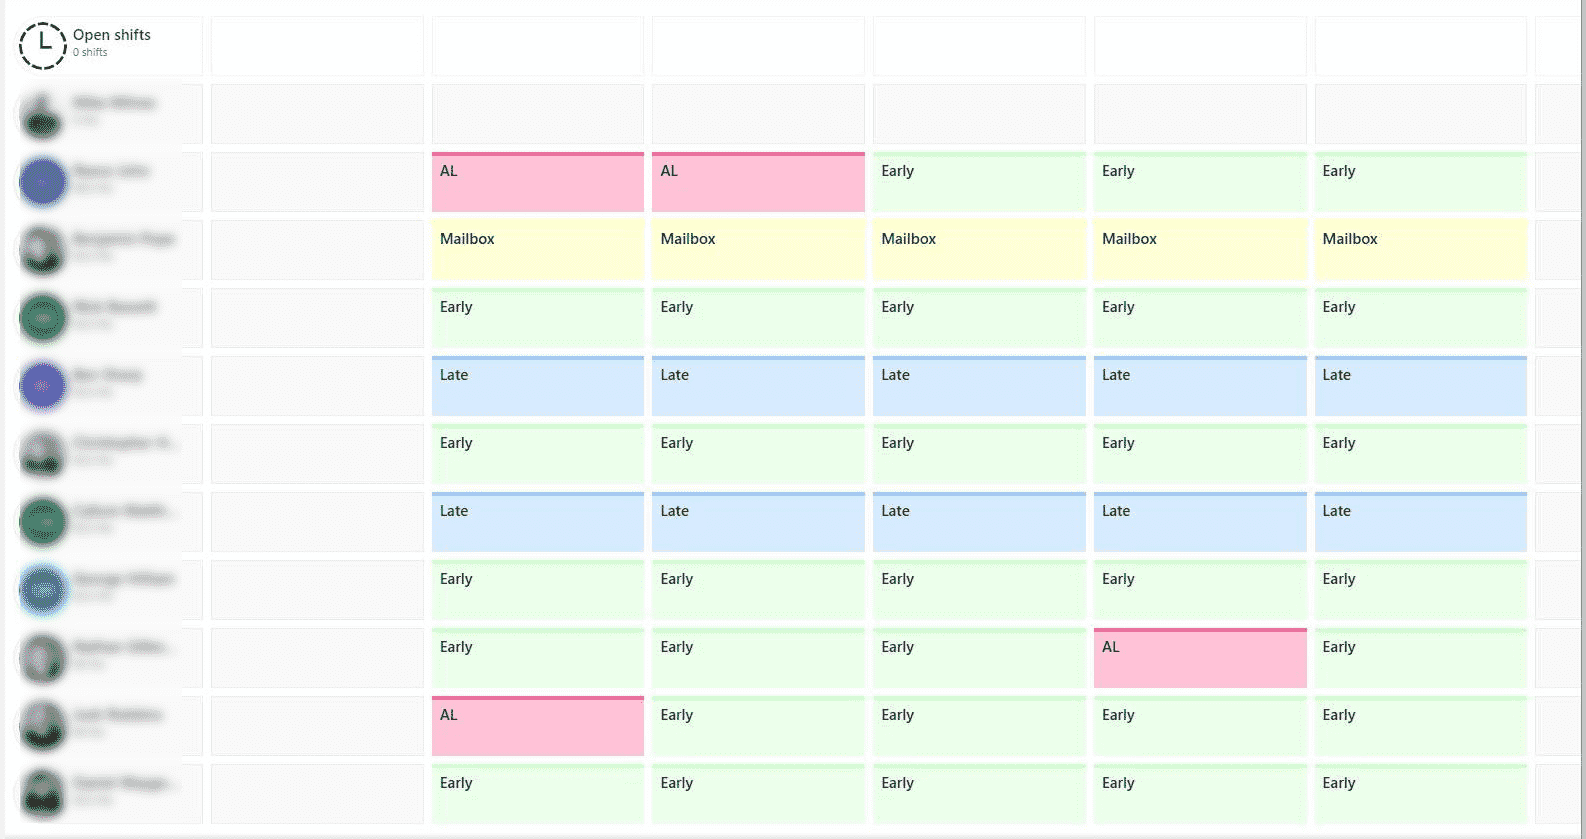
To create a shift for a team member, double click on any empty slot in their schedule and fill in the details about the shift.
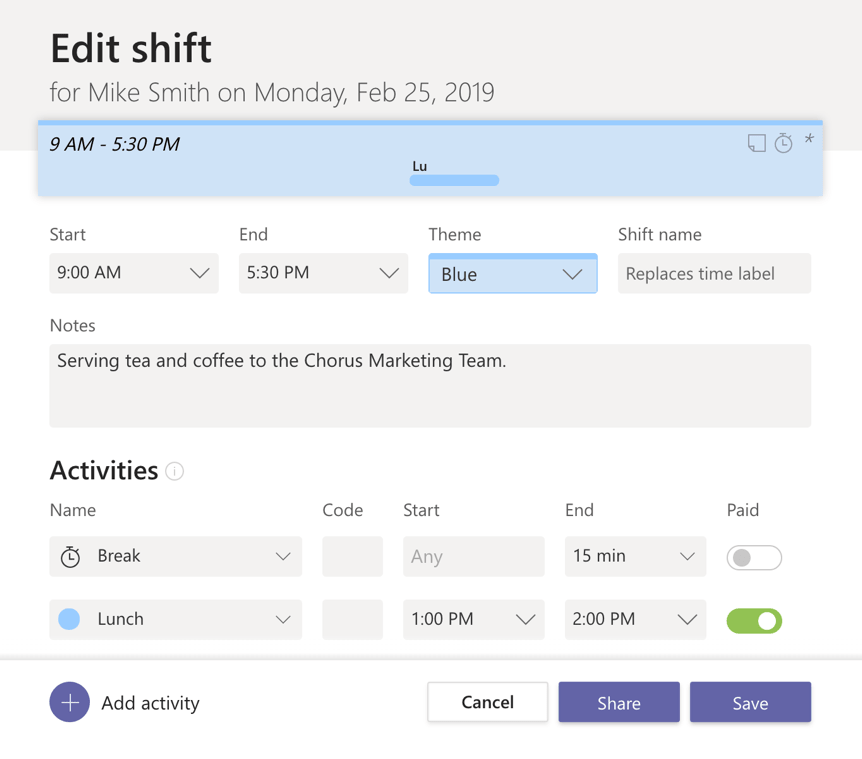
Add various details about the shift such as:
- Start and finish times
- Theme colour (you may decide certain colours will be used for certain shift types or activities)
- Notes about what work the shift will include and anything to pay attention to
- Duration of breaks and lunch – and whether or not breaks will be paid
You can add a team name for the shift schedule. Simply enter a name into the box above the shift slots which are now populated with the shifts you have created.
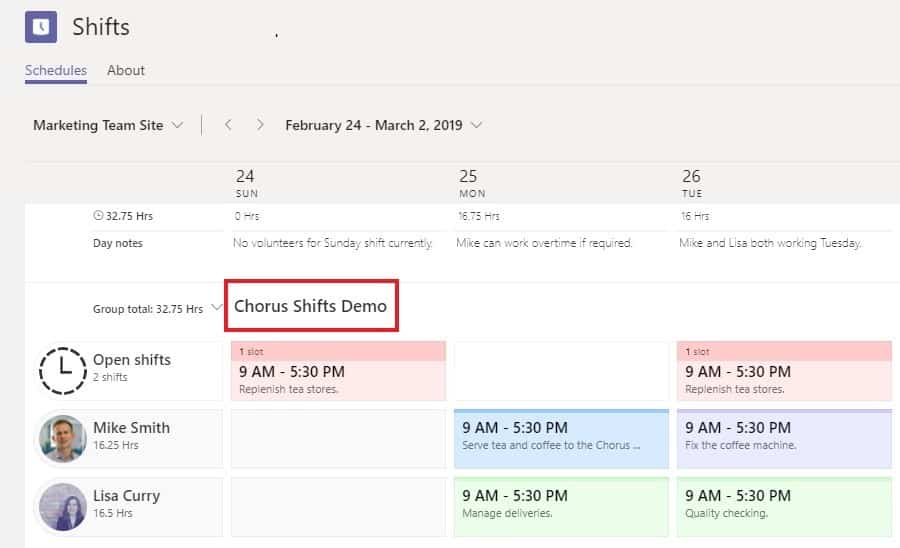
The open shifts row allows you to create shifts before allocating them to team members.
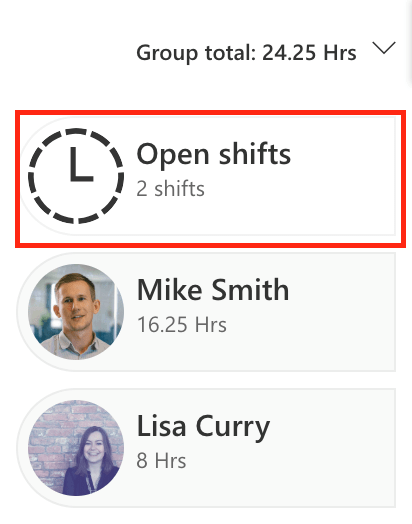
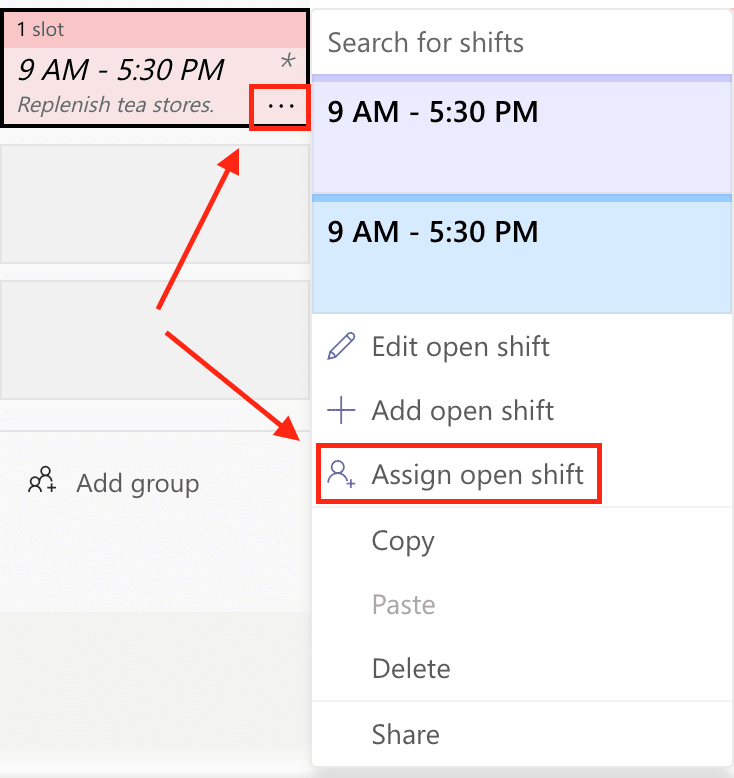
Once you’ve created an open shift, you can click the ‘three dots’ and a menu will appear with further options. This will also allow you to assign the open shift to a member of the team.
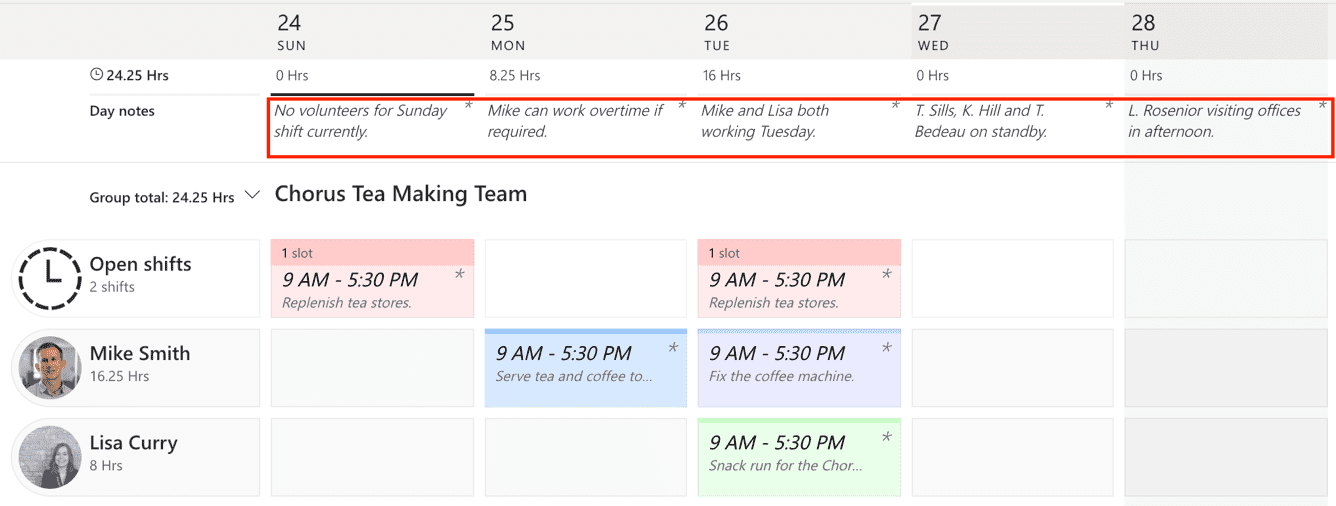
You can also add notes about the shift schedule for the respective days of the week.
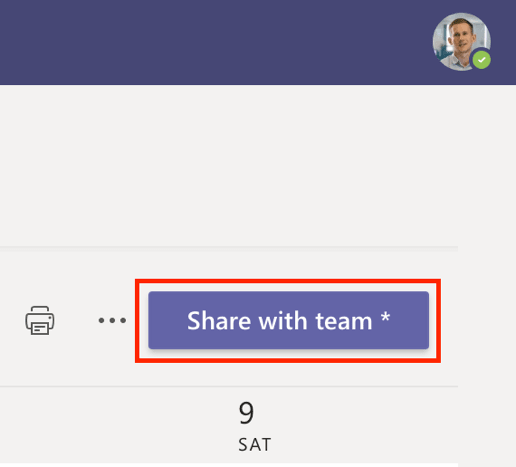
Your team members won’t be notified until you share the shifts with them. To do this, click on ‘Share with team’ in the top right corner of the screen.
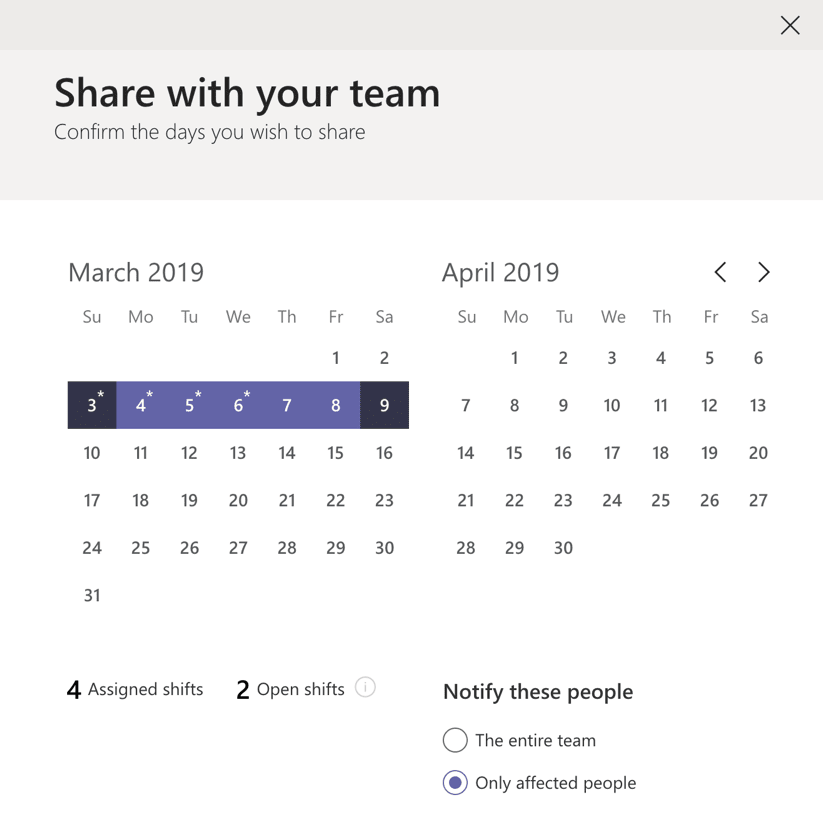
You will then have the option to select which days of the calendar you wish to share with team members. Select the first and last day of the range you want to include and then choose whether to share with the ‘entire team’ (i.e. those listed against the schedule) or ‘only affected people’ (i.e. the people who have been assigned shifts).
Adding and approving requests
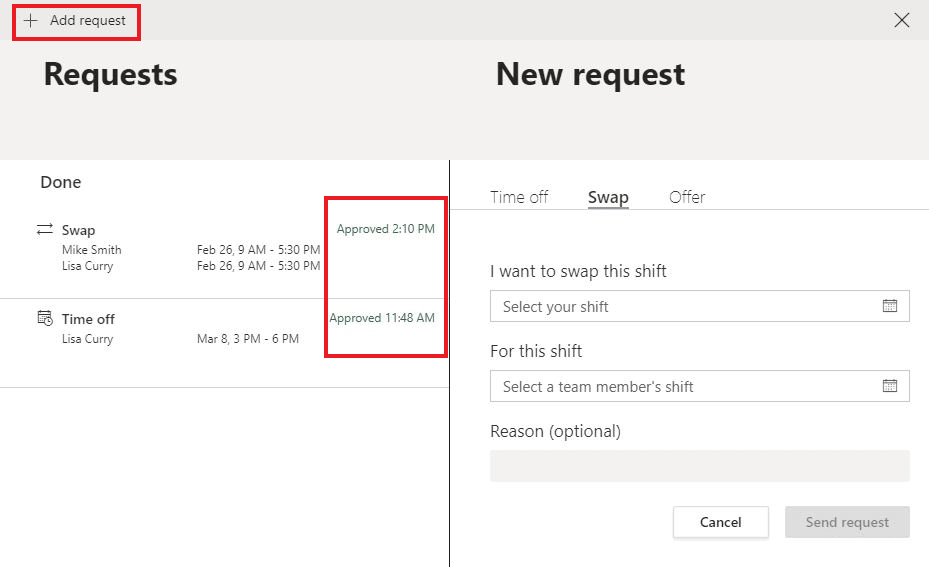
You can easily make, approve or deny requests for:
- Time off
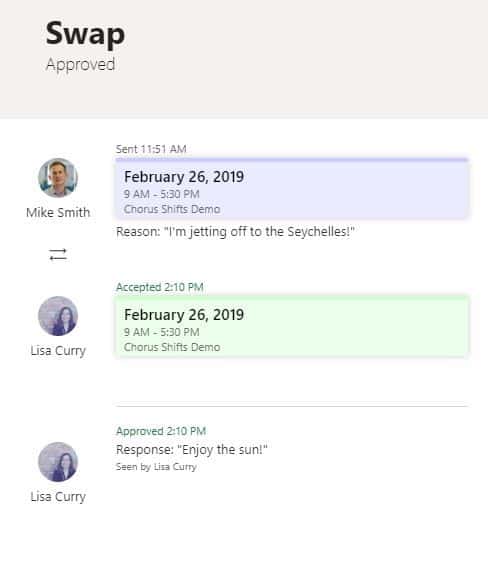
- Shift swaps
- Offers of available shifts
The ‘requests’ button can be found towards the top right corner of the main schedule screen.
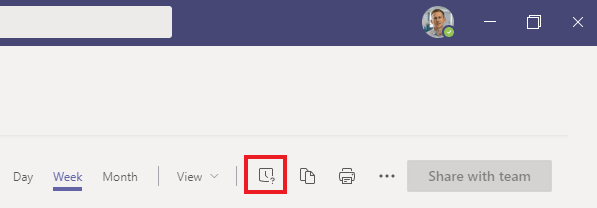
You can easily add requests and see whether previous requests have been approved.
